Monday, December 10, 2012

An Intro to the fly


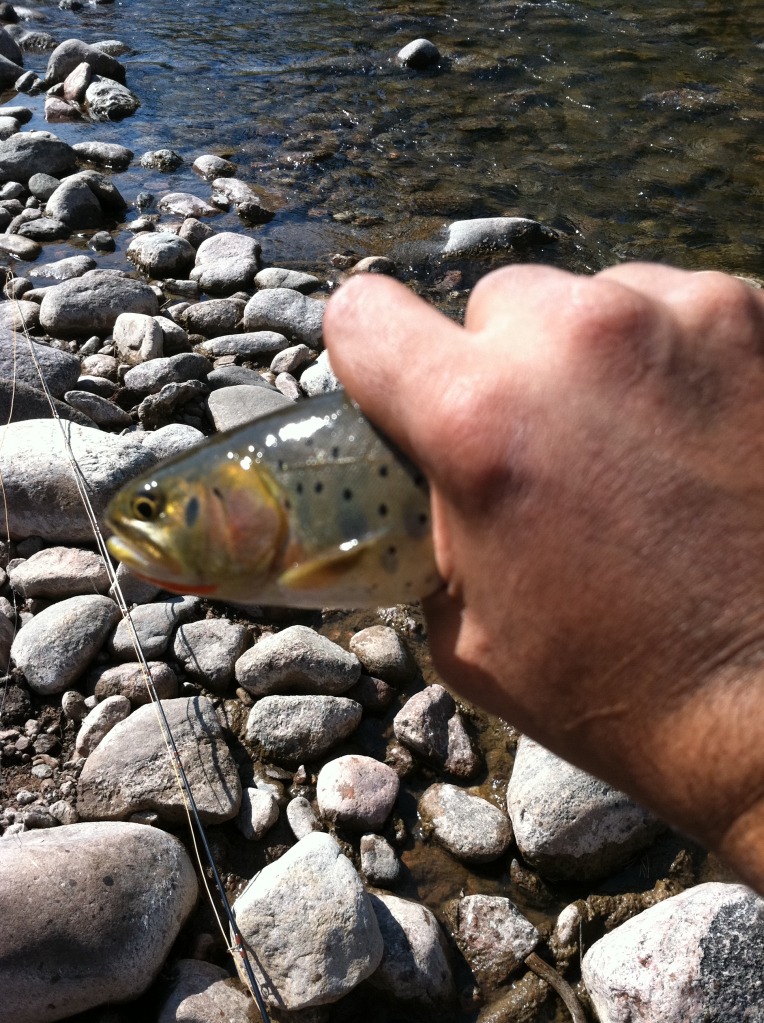
This summer I took the family to West Vail for my daughter's 3rd birthday. My little girl was so excited to be in the mountains, and kept saying we were going on an adventure. I know Diego, Dora, and Calloiu had an influence on what she thought was an adventure, but I was going to show her a real adventure. The morning of her third birthday we woke up, grabbed the fly rod, and set out for our adventure.
It was AWESOME! As we walked we talked about dragons, mermaids, and monsters. We ate more candy then Moma would allow. She was so excited about walking through the water with our shoes on
We were just two kids on an adventure exploring our surroundings, and enjoying each other’s company.

 
It was the type of adventure that I didn't care if we caught fish or not. I was just happy to be with my buddy, and show her some cool things along the way.

 
I had an awesome day out with her, and introduced her to one of my passions. I’m looking forward to our time together in the future on the river, steam, or high mountain lake.


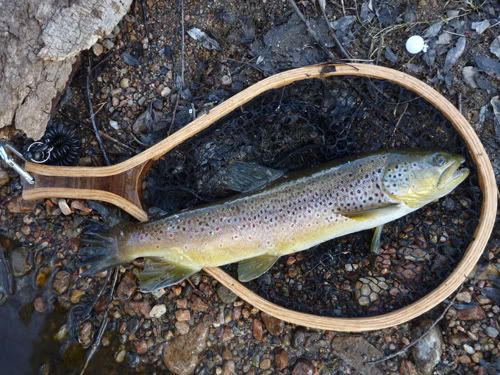
On a side note I made this net for myself out of some scrap pieces of various hardwoods for a trip I took to Idaho.
Tip: Always treat exotic hardwoods with denatured alcohol 15 minutes before gluging them togeter, and Tightbond III makes a very stong bond with exotic hardwwods.

Friday, August 10, 2012

Orvis's Picture of The Day

I wrote a blog last month called “Moonlight ice off in the high country”, and on this day Jon Hill caught his biggest high country cutthroat ever. I was fortunate enough to net this fine specimen for him, and after Jon unhooked the fish he threw me his camera and told me to take a picture of him holding his prize. I snapped a couple of pictures, and tried to position myself so I could get the mountain in the background. Little did I know that that one of those pictures would end up as Orvis’s picture of the day along with some other picture’s by Jon. Check it out!


Monday, July 30, 2012

Guide Net

I recently had a request for a guide net from Alan Peak of The Hatch Fly Shop. When we were discussing what types of wood he wanted in his handle he told me he would leave it entirely up to my artistic judgment. I was a little bit nervous by this because Alan went to art school for college, and I studied Political Science. I dug into my scrap pile, and found some scraps of the zebra wood I used on a smaller net I made for him earlier in the year. During one of our phone conversation he mentioned that he like Birdseye Maple, so I decided to do most of the handle in Birdseye. I was happy with the way this net came out.


The best part for me is seeing my work in pictures like this. Here's Alan after netting this girls first fish ever on the flyrod. Look at that smile!

Sunday, July 29, 2012

Moonlight stroll above 12K


A couple weeks have past by since I did this trip. We left Denver Friday night around my kids bed time, and made our way to the trailhead. Carper got lit up by the police on the way there, but no one went to Jail this time. After a midnight stroll in the high country we arrived above 12K at the lake around 1:20, and set up camp. We all crashed right away and started fishing when morning came.


The lake was tough. Fish were stacked up in the outlet, and fish were spawning. Carper was the only one to put a fish in the net.


After a few hours we broke camp and fished the creek down to another lake. We all caught smaller fish there, and then started making our way down again fishing the creek.


If you have kids at home, and are as big of a mountain junky as I am then you can appreciate the 24hr kitchen pass. A little bit of backpacking, hiking, and fishing all in under 24hrs with 4 total hours of driving. I was home for dinner on Saturday evening. It was a great time!


Friday, May 25, 2012

Mount Evans Wilderness Area

I’ve been watching my calendar for several months now waiting for ice off. The day finally came to exercise my legs and wet the line at elevation. Jon Hill and I were kicking around a few ideas where we should go, but finally settled on staying in the Front Range. We had new guy with us that just moved to the great state of Colorado. He was the only one to get skunked, but I don’t think it even mattered to him. We walked into the Mt. Evans Wilderness area and had a mini Colorado Adventure.

The forecast called for a 50% chance of snow, and it snowed 50% of the time.


The fishing was tougher then I remember it being at this lake, and I'm sure the cloud cover and snow didn't help much. We still managed a few red bellied fish. I fished a streamer with a dropper, and caught fish on both.

Jon was chasing fish at the outlet most of the day, and caught a few.

I release 99% of fish I catch, but on this day I felt like killing. My first fish of the day became the victim of a horrible death. The new guy had never had fresh raw trout, so after the killing we ate a piece of the fish's shoulder. Fish doesn't get any fresher then this!
It was the type of day where a small fire was such a luxury, and the rest of the fish was smoked over an open fire.
We  ended the day fishing the outlet area. Jon caught a cool moment on what we thought was video, but instead he had his camera set to a time lapse shot. This was one of those classic moments of "Hold my fhttp://youtu.be/wF_bqoCb-e8lyrod".
Happy fishing!
 

Tuesday, May 22, 2012

New Design: Red Oak, Hard Maple, Zebra Wood, and Wenge.


New design

I had a request to build a net for someone’s son. The net is going to be a birthday gift, so I wanted to do something a little different. After a few emails back and forth I had an idea of what the person was looking for, and I got to work. A clear rubber Brodin Ghost bag was requested. I bent the hoop out of Red Oak, and put a middle lamination of hard Maple. The handle is made from an African hardwood called Zebra Wood. The laminations on the side of the handle are made from another African hardwood called Wenge. It’s neat to see this net finished, and to think that 4 different hardwoods grew on four different trees, and 2 different continents only to find themselves glued together for the purpose of landing fish. As my friend, and recipient of this net would say: “Blue skies to your fishing”.


Tip: When bending small laminations of hardwood simply soak them over night, and then put them in the microwave for 2 minutes. They bend just like they would if you steamed them.

Monday, April 9, 2012

The Forgotten Canyon


The day started with a meet up amongst friends along Hwy 285. We made our way to the trail head, and started hiking down into the canyon. I’m amazed every time I fish this canyon by the lack of fisherman, and evidence of fisherman. It really is an awesome place for being so close to Denver.

Blue skies overhead accompanied us all day, and the views in the canyon were spectacular. The fishing was quick, and I caught little fish. Size 20 rainbow warriors was the food of choice for the little browns I caught. 

The big fish of the day was caught by Bob, and it measured 19’’. I saw allot more big rainbows over 20’’ this time then I did last time. I want to get back there soon! I finally put a fish in the first hoop I ever sewed a bag on to. It was not a monster, but certainly a special fish.

I looked at that first hoop while sitting river side, and realized I have come a long way since I bent that hoop. Overall it was a goods day to be in "forgotten canyon".

Thursday, March 22, 2012

The Art of Net Making

With new technology fly-fishing equipment is always changing. I’m reminded of my early years of fly-fishing when everyone on the river was wearing neoprene waders. Now if you wear neoprene you are the minority. One thing that has remained consistent is the little wooden “creel”, or fly-fishing net. Net bags have evolved over time to be more fish friendly, but the wooden hoop has remained the same, and is an important tool for a fisherman. I’ve always been fascinated by artisan woodworkers and the things they can create with a few boards, and a creative mind. Like all things fly fishing patience is virtue when building a landing net out of wood.


The process begins with board selection. The two main components of a landing net are the hoop, and handle. When selecting a board for the hoop a couple things you need to consider is what type of wood you want to use. I really like working with Red Oak because of its strength, but any other hardwood is a good choice. You will be ripping the board into laminations so the board should be free of knots. Strait grain boards make the best lamination. A quick look at the end grain of a board will tell you whether or not the board has been slabsawn or quatersawn. Quartersawn boards is what you want to make your laminations out of.


The handle is where you can get creative. The handle also serves as a gusset to the hoop, and any species of wood can be used for the handle. Some exotic woods need to be treated with denatured alcohol before the gluing process.


Once your boards are selected you can began ripping down your laminations. Most net manufacturers use 3 to 6 laminations in their hoops. I usually determine how many laminations I’m using based on the size of the net I’m making, and the type of wood I’m using. Softer woods need more lamination to make a strong hoop. I cut the laminations on table saw using a 200 tooth blade to get the cleanest cuts. The thickness of the laminations depends on the number of laminations being used on the hoop. For a 5 lamination hoop I tend to use laminations that are .090 or 3/32’’ thick. There really is no rule for thickness. Once the laminations are cut then they need to be planed or sanded to the make the surface even. A quick run over a stationary belt sander usually does the job.


The rough cut is easily planed with a stationary sander


The next step is to make your handle. Many times I cut out a template out of a piece of cardstock. I fold the cardstock in half and draw out half the handle so when I cut it out and unfold the cardstock the handle is symmetrical. A quick trace onto the piece of wood you using, and your piece of wood is ready for the band saw.
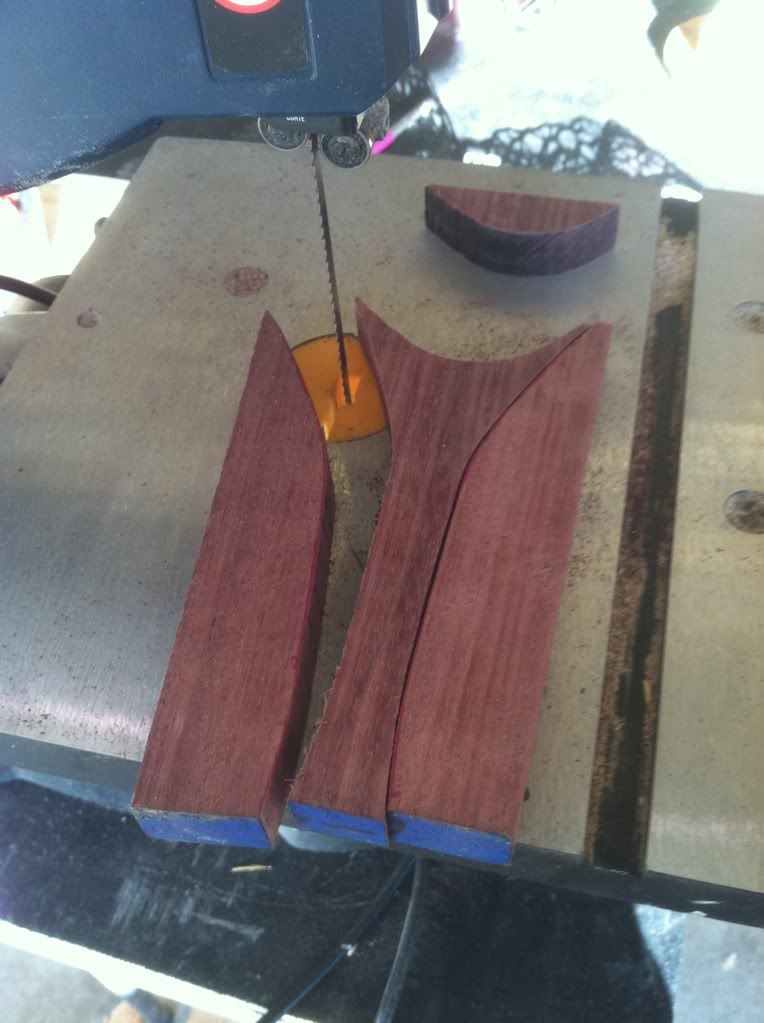

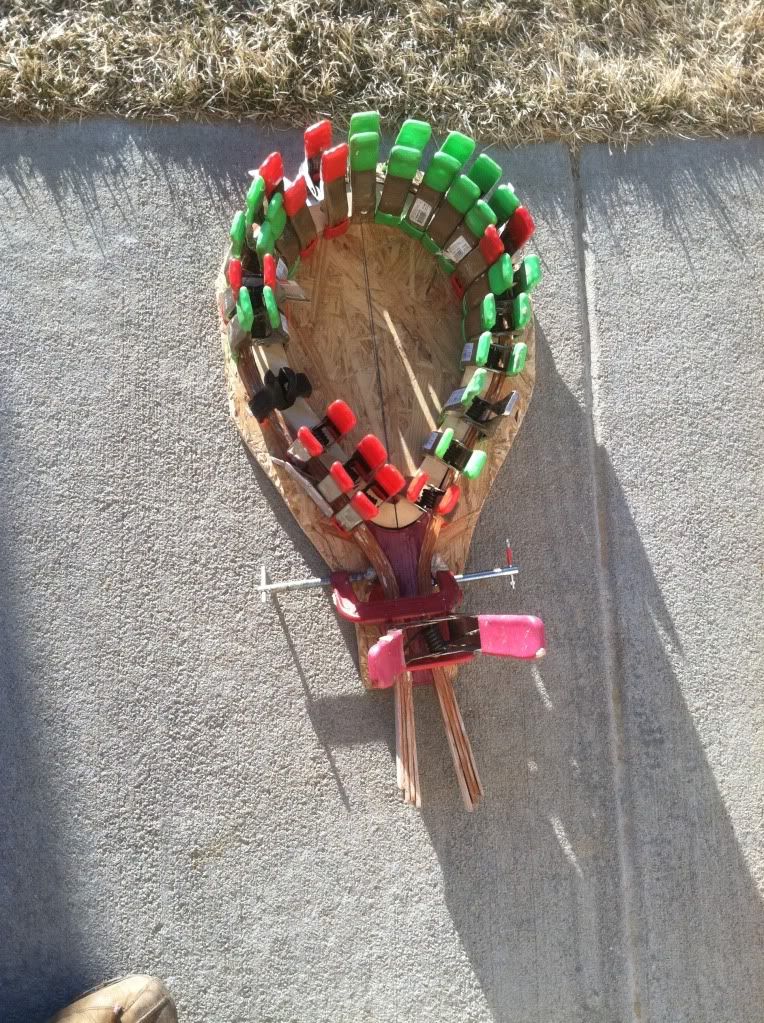
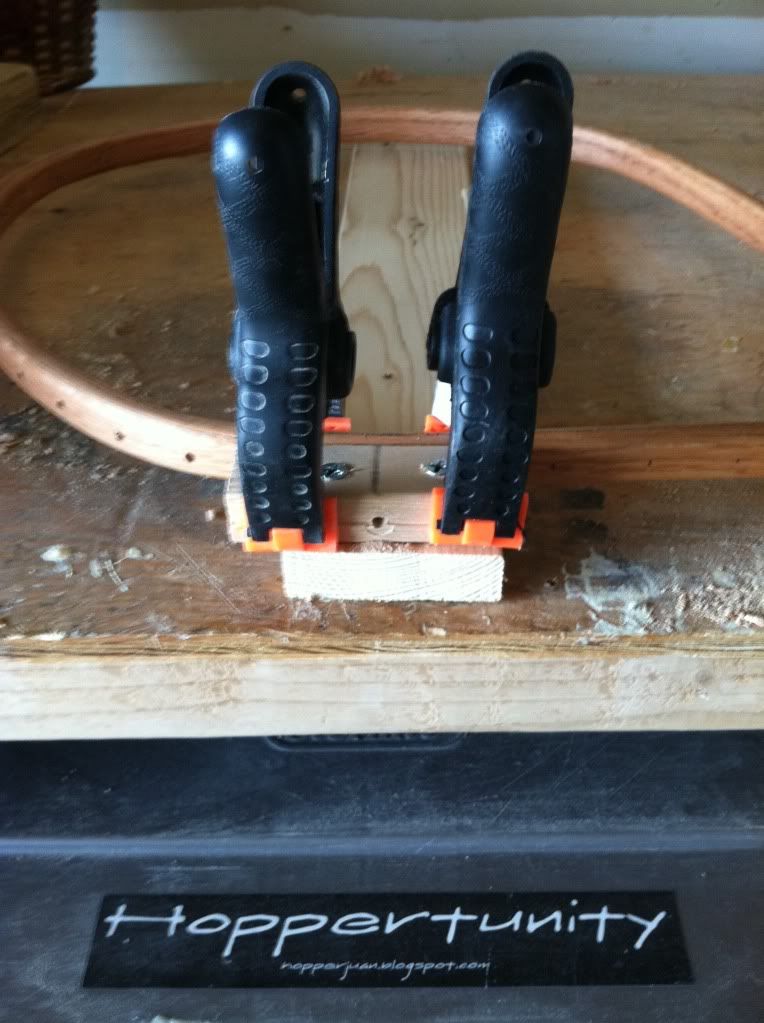
Now that your laminations & handle are cut you are ready to glue your laminations together, bend your hoop, and glue your hoop to the handle. To avoid breaking laminations during the bending process I let the laminations soak in water overnight. Most of the laminations are longer then my bathtub, so I purchased a vinyl gutter from the hardware store. This allows me to soak up to 10’ laminations. A jig is an important tool necessary to bend a perfect hoop. The jig will determine the shape of the hoop. The lamination are first glued together with gorilla glue, and then clamped around the jig with a series of spring loaded clamps, and c-clamps. Gorilla glue expands and will sometimes seep out between the laminations.  That is not a problem, and can be chiseled off after the glue dries. I let the hoop dry for 24hrs before taking it off the jig.


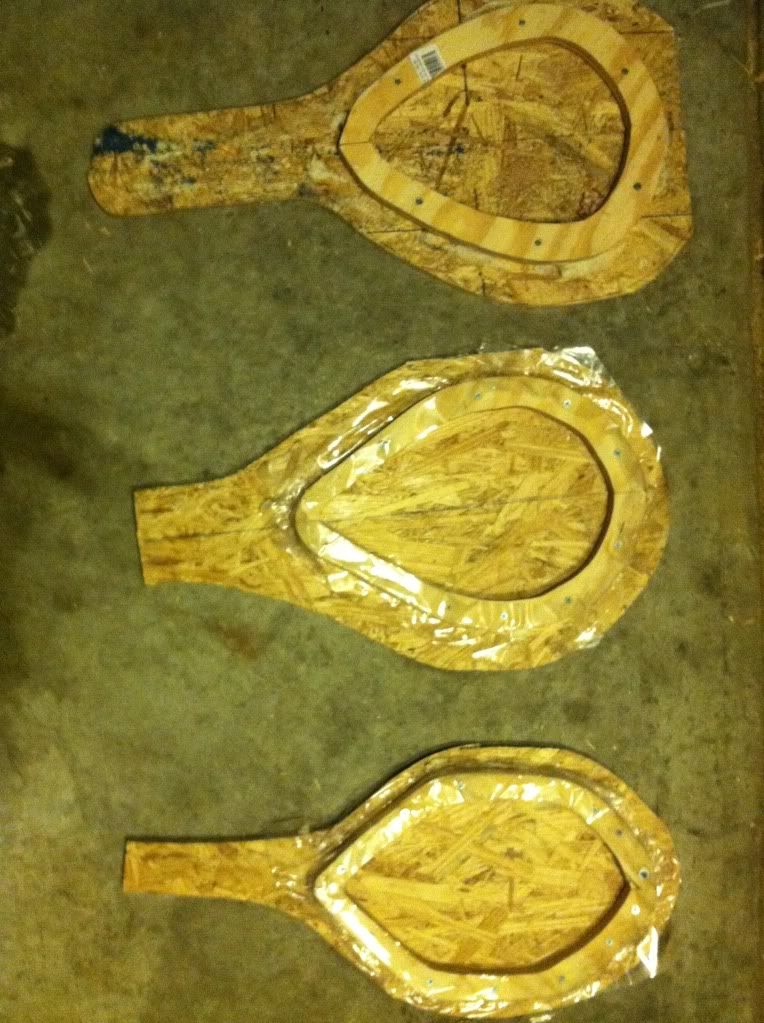
Different styles of jigs.


Clamping


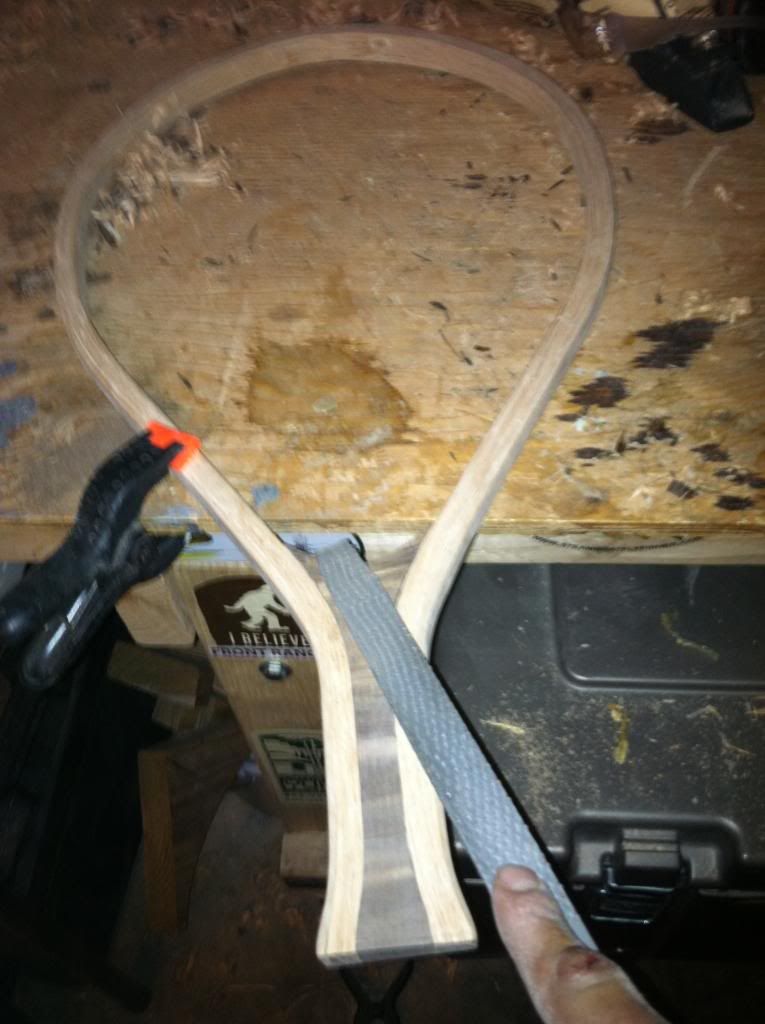
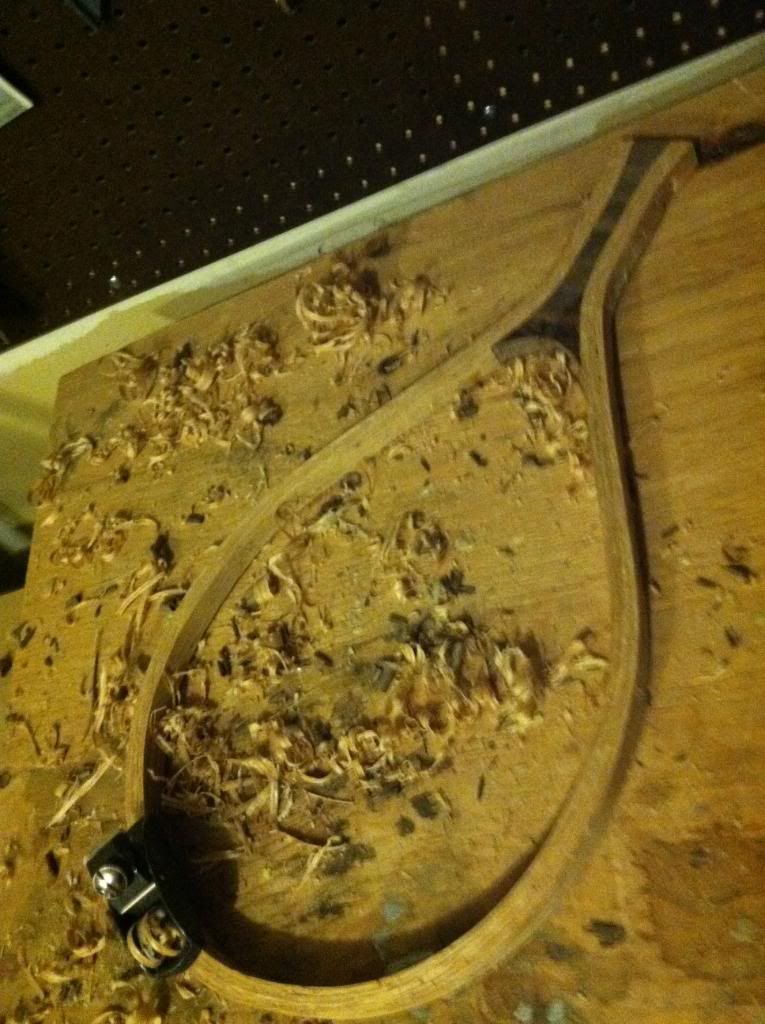
The two boards you started with are now looking like a landing net. A small hand plane is now used to even out the surface of the net. The next step is shaping. I use a series of hand tools and sand paper for this process. The final step is sand with 320 grit sand paper to prepare the net for staining.


To attach the net bag to the hoop holes must be drilled in the hoop to allow you to “sew” on the net bag. I made a simple jig for doing this, and the number of holes & spacing will be determined by the net bag you are attaching.


Your piece is now ready for staining. I like using natural stains that enhance the beauty of the natural wood without modifying the color. Once your stain is dry apply several coats of marine grade varnish, and buff to polish. The last step is to sew the bag on. Many different chords can be used from wax cotton to poly chord.


Once the bag is on the hoop get on the water and put a fish in the net!